It’s exactly what it sounds like! You’ll be creating two gorgeous card backgrounds from a single stenciling session. By inking through your stencil as usual and then pressing a second panel onto the inked stencil, you get a bonus print with a beautiful, soft, reverse design. One technique, two completely different looks!
🧰 Supplies Used
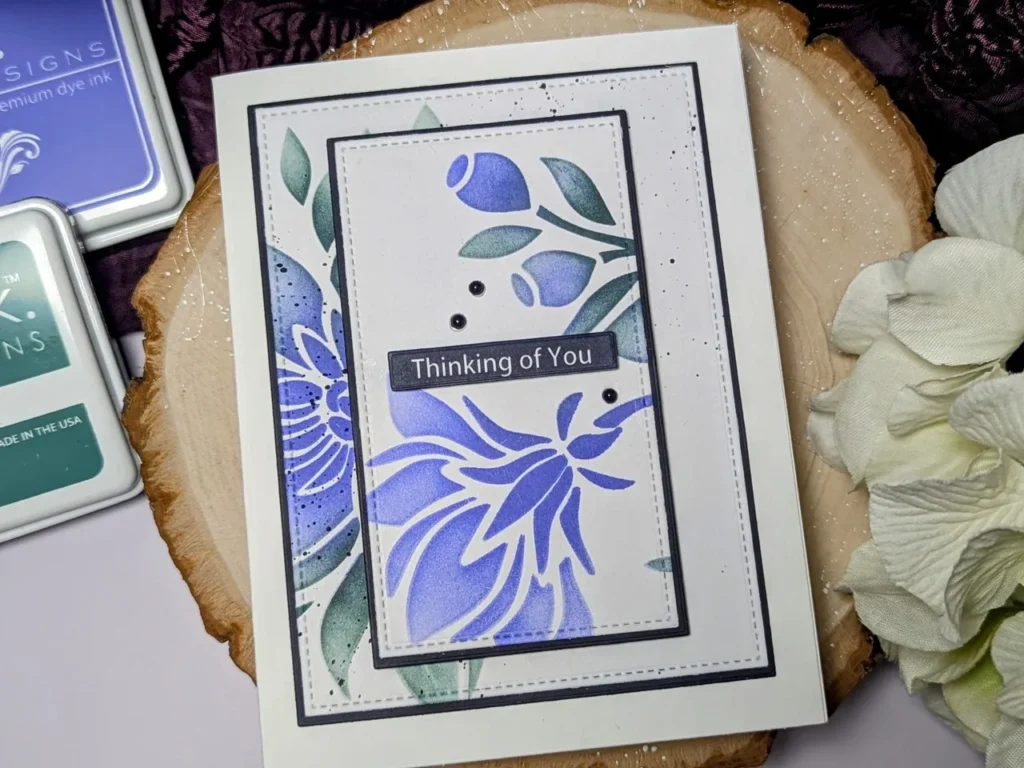
For this technique, I used products from some of my favorite companies:
- Gina K. Designs – known for their amazing inks and stencils
- Simon Says Stamp – always a go-to for unique stencils and sentiment stamps
You can, of course, use any stencils and inks you have on hand—the technique is very versatile!
📺 Watch the Tutorial
I walk you through the whole process in this video, from prepping your cardstock to inking, lifting the print, and assembling your final cards. You’ll be amazed at how easy it is to get a stunning result.
👉 Watch the full tutorial on YouTube here! https://youtube.com/live/DgWVSjHLfJs
✂️ Why You’ll Love This Technique
- Perfect for mass-producing cards
- Great for beginners and seasoned crafters alike
- No fancy tools required
- Works with any stencil and ink combo
- Doubles your cardmaking stash in minutes!
🖼️ Final Thoughts
Whether you’re making a batch of thank-you cards, birthday cards, or just need a crafty pick-me-up, this 2-for-1 stenciling technique is a must-try. It’s fast, fun, and the results are always beautiful.
If you give this technique a try, I’d love to see your creations! Tag me on social or leave a comment on the video to share what you’ve made. 💌
Happy crafting!
— Annette
#Cardmaking #StencilingTechnique #GinaKDesigns #SimonSaysStamp #PapercraftIdeas #CraftBlog #CardmakingTutorial
Leave a Reply